Hi guys!
I wanted to do a review on nail varnishes as painting my nails is my favourite thing to do (weird to most I know), but I genuinely enjoy it!!
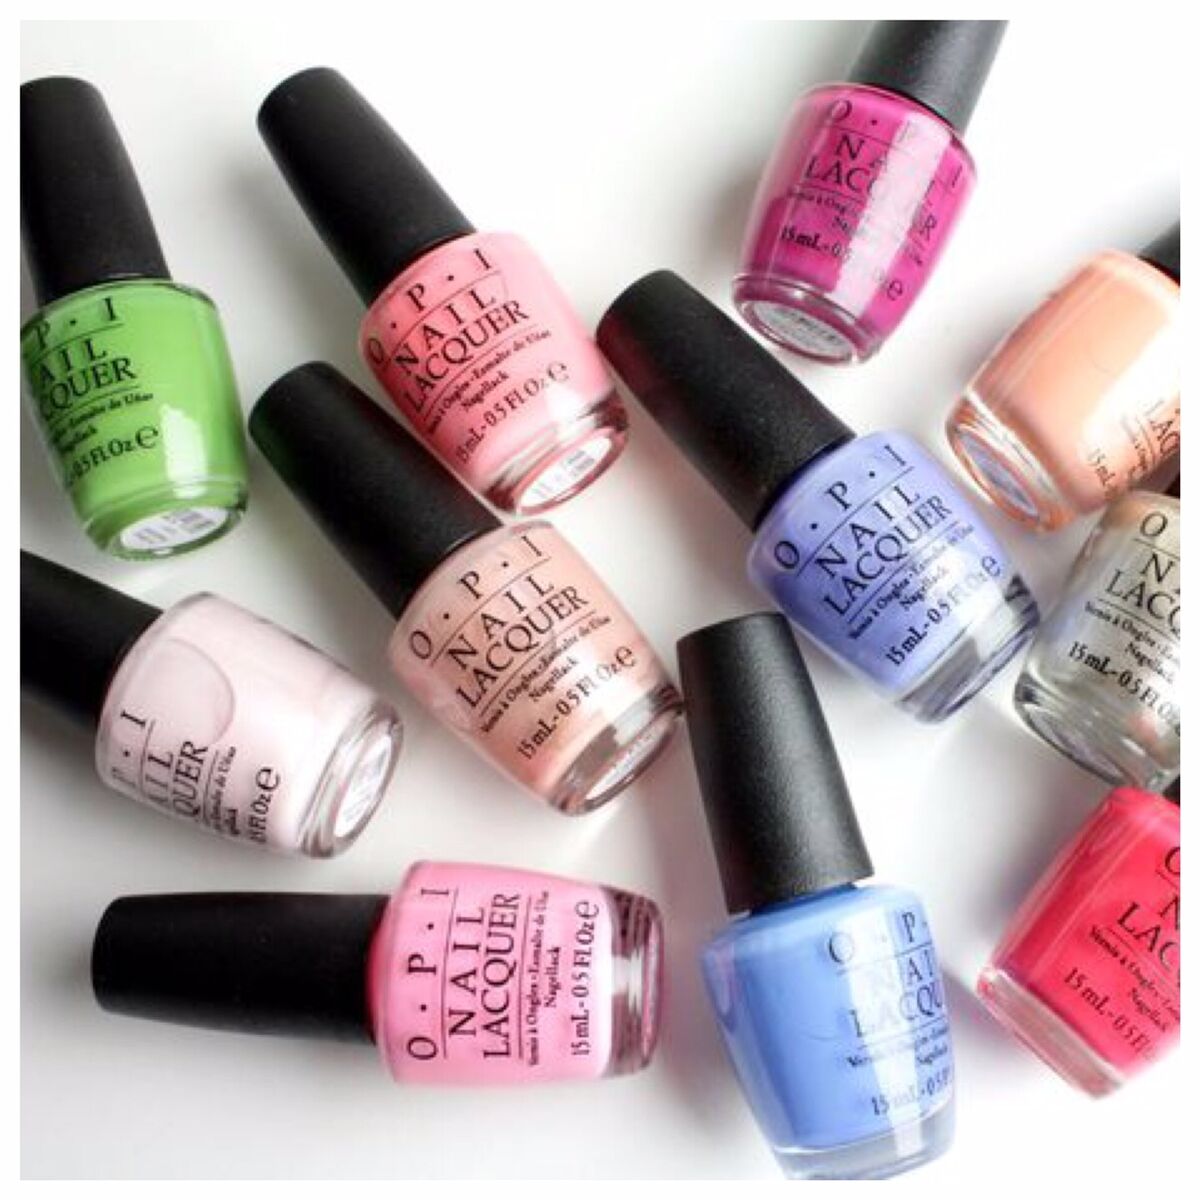
OPI nail varnishes have been a favourite of mine for many years. I am officially addicted to painting my nails, and have even been known to remove freshly painted nails in order to change to a different colour as I find narrowing it down to one too stressful!!
I love the texture and consistency of these nail varnishes, and OPI offer so many different colours, including a crackle collection, glitters, and a range of base and top coats, including ridge fillers. I even have a mini set of beach sand effect varnishes, which are very… unique!
I like to really go to town when I paint my nails, and ensure no step is missed! Mainly because I get so incredibly frustrated when you have sat around waiting for them to dry and then they chip in 5 seconds! This is why I take every step possible to ensure that my mani will last as long as possible!
I start off removing any old nail varnish with acetone free nail varnish remover. I usually just buy a cheap one from Boots, but you can get some really nice ones including this Ciate pot, which amazingly smells like chocolate!!
Once I have taken my nail varnish off, I like to scrub my nails with a nail brush, this way I know that my nails are nice and clean, and my cuticles are softened ready for removing. I use cuticle cutters and remove any unwanted skin around my nails so that my varnish can sit perfectly on my nail bed.
I always follow this routine with an abundance of coconut oil!
I use so much my hands are greasy for ages, but I just feel you can’t use too much! Your nails need nourishment to look healthy, and grow long and strong, and I believe in the power of the coconut to do the trick! I genuinely notice a difference when I use coconut oil so I would recommend you add this into you nail routine.
I leave my nails for a while after moisturising, not only to ensure that my nails have maximum oil absorption, but also to avoid the greasiness effecting the varnish.
I start off with a base coat.
Personally, I will never paint a colour onto my bare nails. This is psychological for me, but it makes me feel like my nails are chocking if I do! Also I want to avoid staining my nails, particularly with dark colours like reds and blacks.
I use my phone as a timer as I assume I have waited about 10 minutes and it has probably only been about 40 seconds, so to stop myself from chipping or smearing the varnish I will not move until my timer tells me! For the actual colour I like to start with a blob in the middle of my nails and push down towards my cuticle. I then swipe upwards to cover the whole nail. I like to do my colour nice and thick, as I like the colour to look very dense and gel-like.
Then I set a time for 20 minutes.
For a perfect look you need to make sure you DO NOT TOUCH anything in this time!
I manage this by waiting until I have done everything I need to, have made a cup of tea, and am ready to watch my favourite YouTube videos to keep me glued to the spot!
Once I am happy the first coat has dried (if it looks like it is still damp, or I have done a particularly thick coat I will wait a little longer), I move onto the second.
I am not overly worried about the second coat, as long as the first is as perfect as you can get, the second is really just concentrated on the centre of the nail, and the tip to increase colour density, and thicken the ends to avoid chipping.
Usually I do my nails in the evening so again, after waiting my 20 minutes, I will carry on with my evening and then go to bed.
Although my favourite varnishes are OPI, I just absolutely LOVE the Seche Vite top coat. Once you have tried it you will not go back. It is INCREDIBLE. In the morning when I am ready, I quickly swipe my nails with the top coat and it dries within 5 minutes and secures my nails for DAYS!
Seriously, the difference it makes is unbelievable.
The reason I wait until the morning to do this is because I want to avoid those pesky pillow marks that you can get from going to sleep too soon after applying varnish, so this way if this has happened to the colour, the top coat masks it completely.
Mani complete!!!
Hopefully this has been helpful! I really do recommend these steps as I have perfected my routine over years and with plenty of trial and error! If you are on a budget and are looking for just a few stable colours to build on, my three favourites are:
Uh-oh roll down the window
Lady in black
Did you ear about Van Gogh?
You really can’t go wrong with these colours. They are transitional across the seasons and I enjoy them just as much in summer as in winter.
– Book a personal styling session with me here –